|
How Long Should I Burn a Candle?
- March 03, 2026
- 7 min read
There is a lot of advice available on the internet about how to burn a candle. The information pertains to making sure you do not burn your candle too long or leave it unattended. Other information involves giving your candle a good first burn and burning a candle long enough.
While all of it is good advice, what does it all actually mean? Can you really burn a candle for too long? How long should you really burn your candle for?
Let’s break down this advice and talk about what your candle should look like as it's burning so that you can have a great scent throw and a clean burn.
First, we’ll look at what happens if you burn a candle “too long.”
Can I Burn a Candle Too Long?
The short answer is…yes.
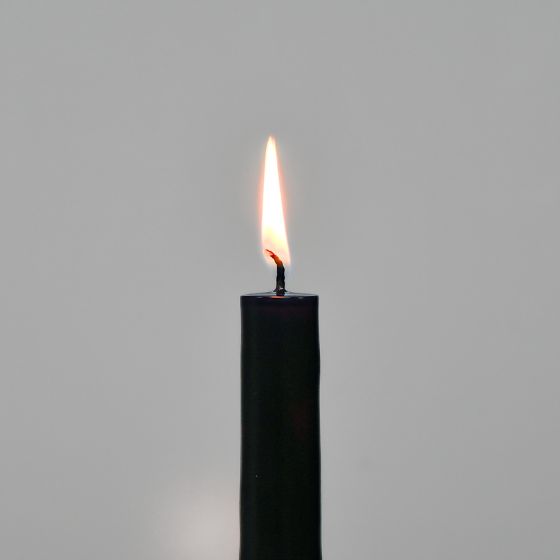
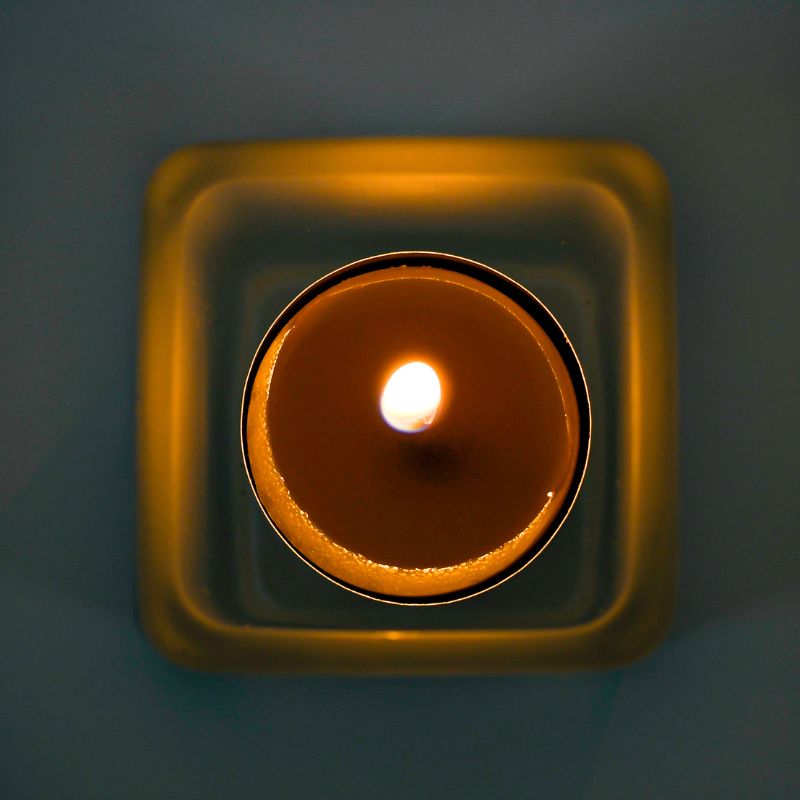
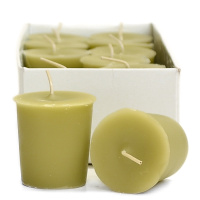
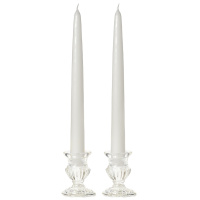
The longer answer is that it depends because not all candles have a time limit for how long they should be lit. For example, our dripless taper candles are made in a way that they use up their wax before creating a “melt pool.” Therefore, they simply burn down to the bottom without overflowing or overheating; this is one of the reasons that many people use tapers in their weddings. Another example is tealight candles which are not generally affected by “long burn times” because they are designed to only burn for about 4 hours anyway. This does not mean that you can leave these candles lit 24/7 or leave them unattended.


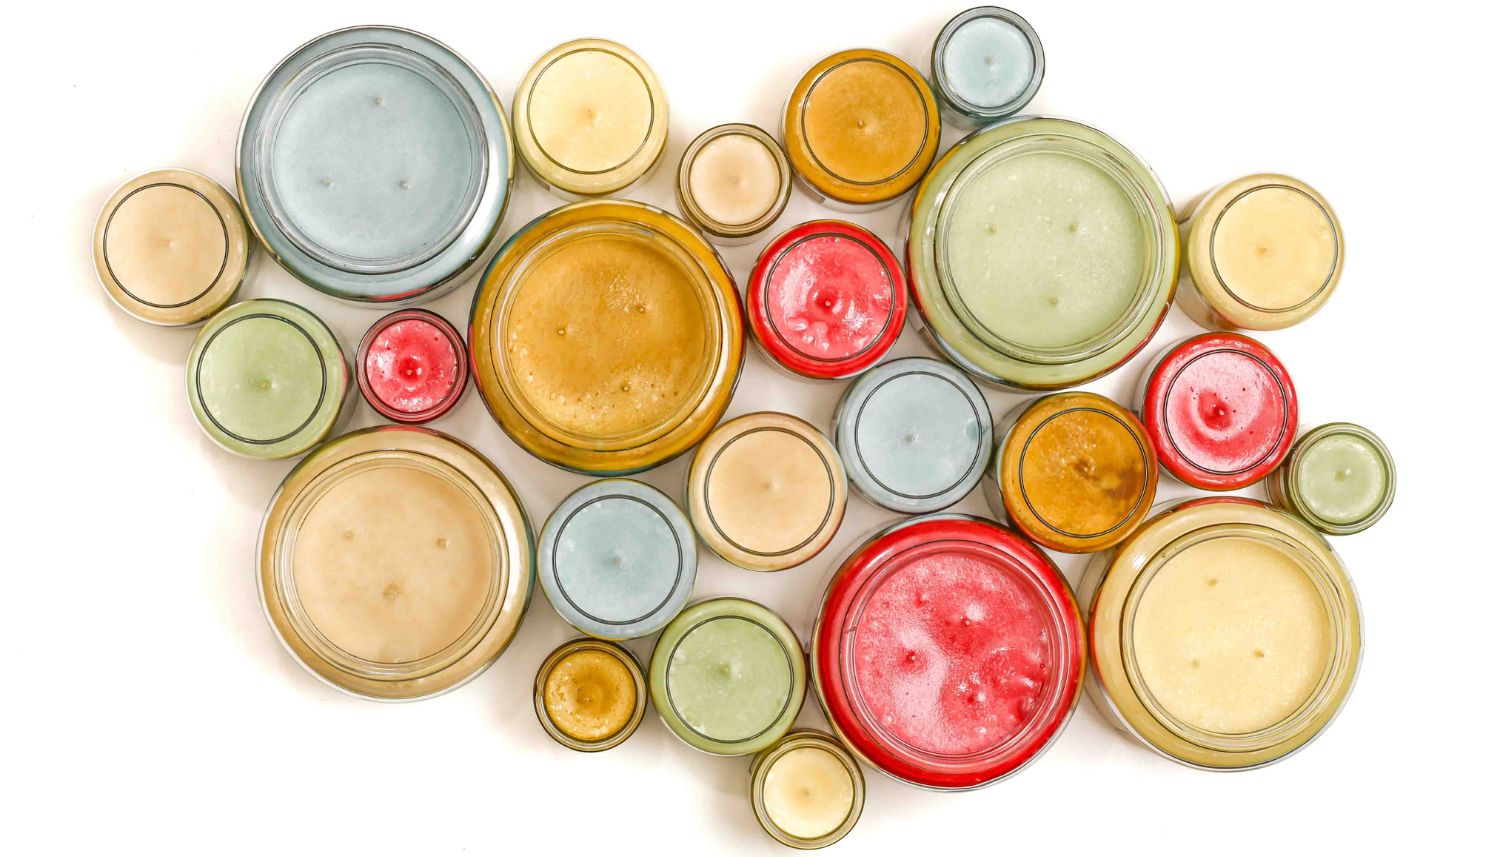
While tapers can be lit for a long time and tealights are short-life candles, other candles may not perform their best if lit for an extended amount of time. These candle types include:
An over-burned candle can cause issues with the wick, or in the case of a pillar candle, it could overflow. However, burning a candle longer than the recommended time is not necessarily going to ruin your candle; you just may need to fix a few things.
What happens if I burn one of the above candles for an extended period of time?
Carbon build-up on the wick. This is one of the most common sights if a candle has been lit for a long time, but it is not always a result of lengthy burn times. If you see a mushroom wick, it is time to extinguish your candle. However, you have 2 options here. The first option is that you can simply allow the candle to cool completely and then trim the wick prior to lighting it next (this is when wick trimming is the easiest). The second option is to trim your wick while the wax pool is still liquid and then relight it after trimming (be cautious because the wax will be very hot). Additionally, you will need to make sure that the wick does not fall into the wax pool. This method allows you to keep your candle burning. For more information about wick trimming, check out our blog, “Do I Need to Trim a Candle Wick?”.
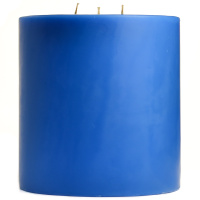
Wax overflow. When a pillar candle is allowed to stay lit without ever being extinguished and rested, the outer wax can overheat and cause the melt pool to spill over the side. If you accidentally leave your pillar candle lit for a long time and this has occurred, all is not lost. The best remedy is to allow the candle to cool completely, and clean up any overflowed wax. You can keep enjoying your pillar candle after it has cooled but you may have to do a little more work to get your candle ready for relighting. If the outer wall of wax is taller than the candle’s wick, you will want to cut off the top bit of wax to be in line with or lower than the height of the wick. This way, your wall will not melt and cause another overflow. You can use a butter knife to cut away the wall and the leftover wax is perfect for using in a candle warmer. If you want to read a little more about pillar candles, check out our blog, “Burning 3 Wick Pillar Candles.”
The above issues are not necessarily going to ruin your candle if you accidentally leave it lit for a long time. You can salvage it if any of these things occur. Whether you do so by trimming the wick, cutting away some wax on a pillar, or even recycling wax in a warmer instead, you can still enjoy your candle. Since these are very real issues that can affect your candle if it burns for an extended period of time, we need to discuss how long a candle should be allowed to burn.
How Long Should I Burn a Candle?
Many bloggers and candle enthusiasts recommend 3-4 hours maximum for leaving a candle lit. However, that time limit is not one-size-fits-all, since there are many varying styles and sizes of candles. It is important to burn your candle for the length of time that it needs rather than strictly following a set number. Rather than going based off of the clock, we recommend monitoring your candle and extinguishing it after the melt pool has widened and deepened to an appropriate amount. Below, we have broken down what this looks like by candle type.
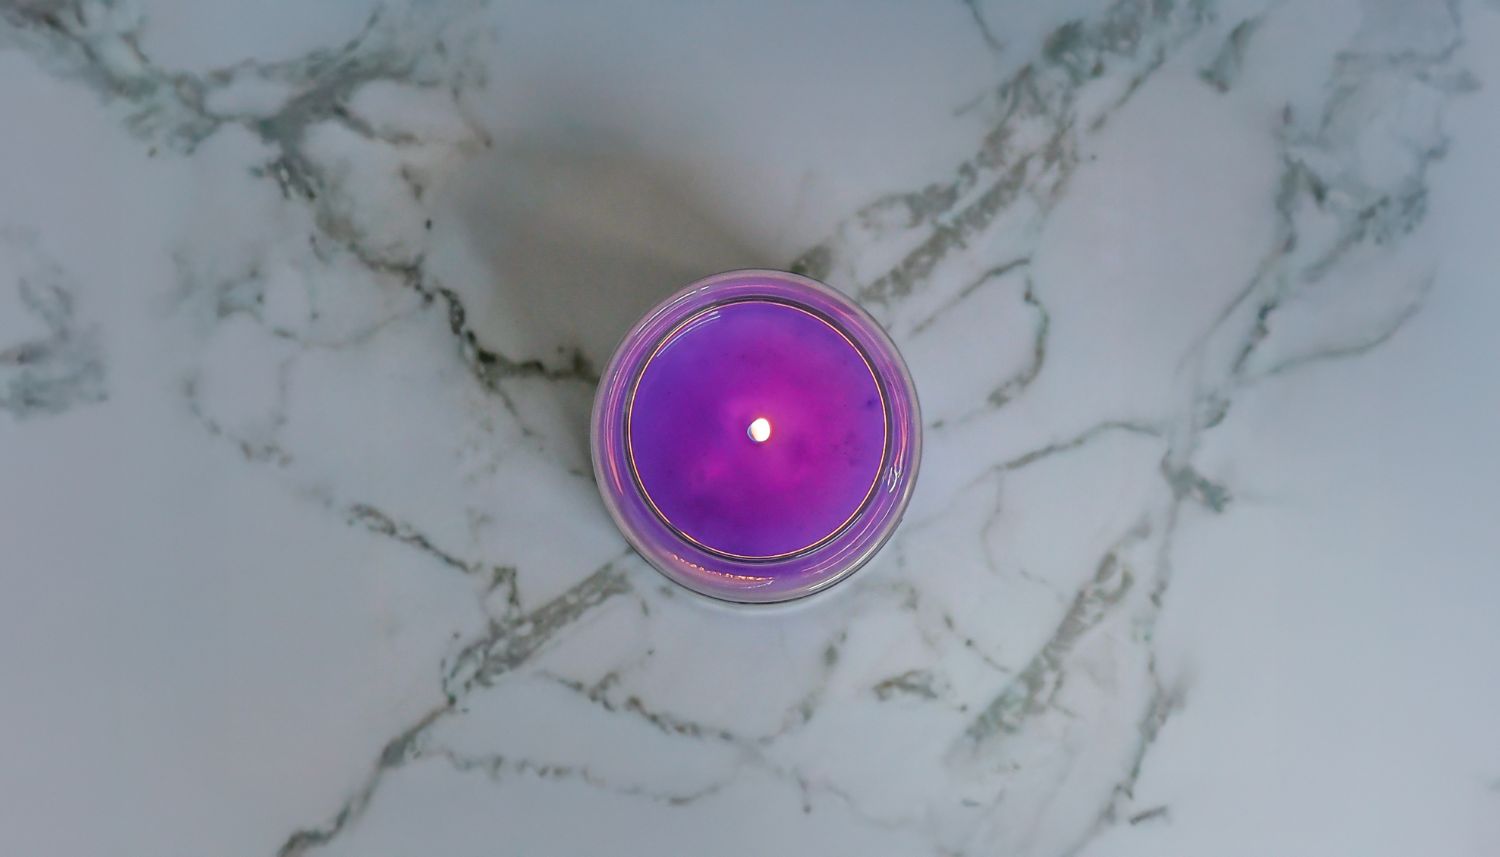
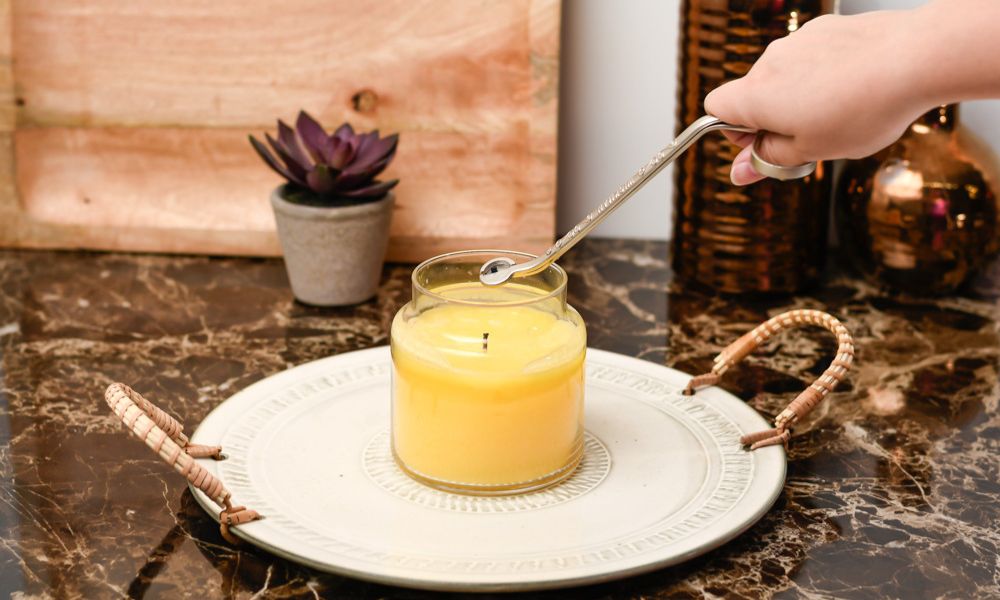
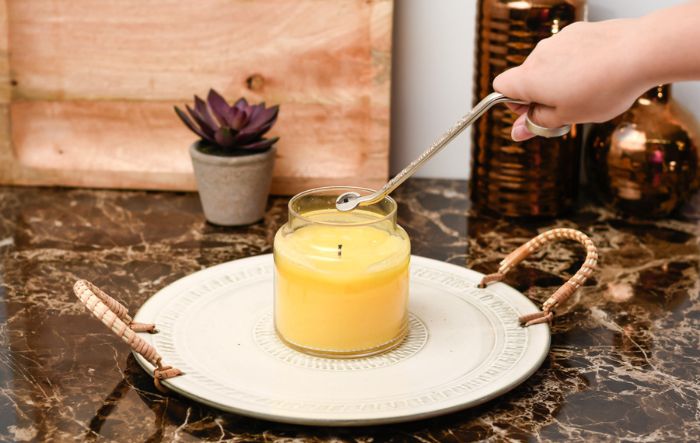
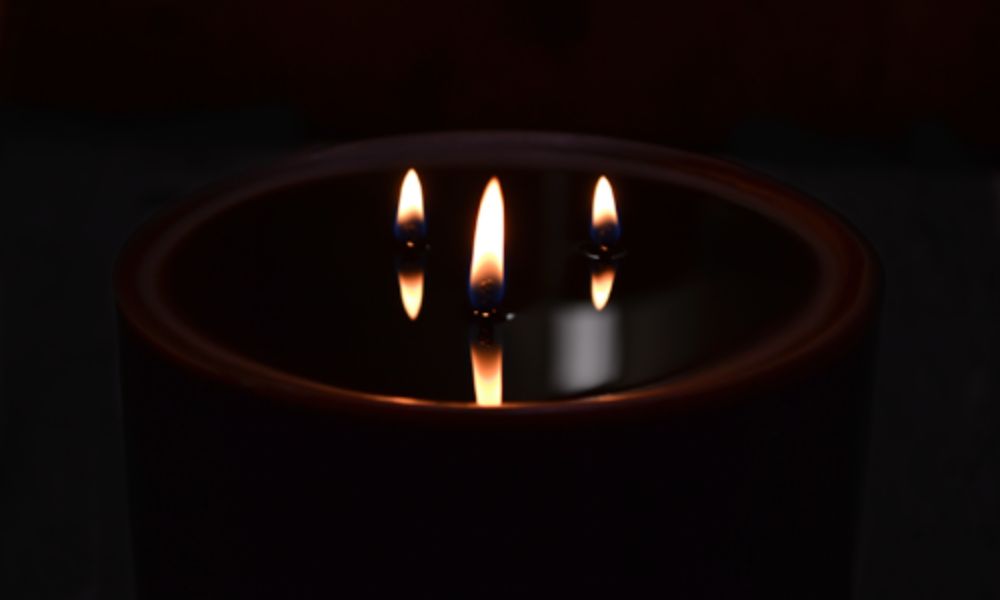
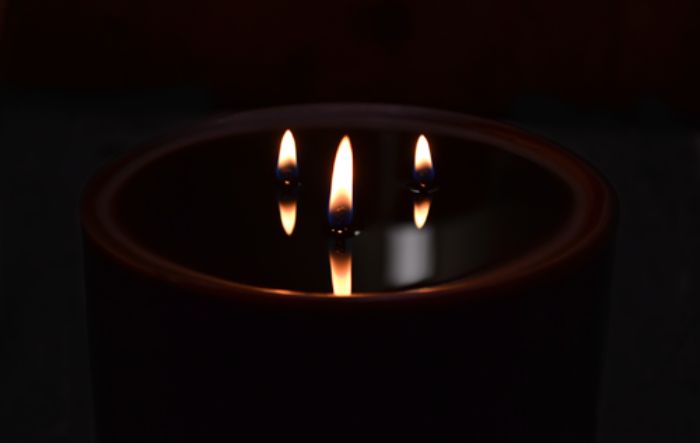
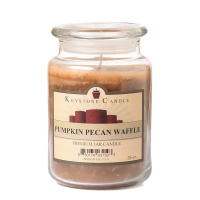
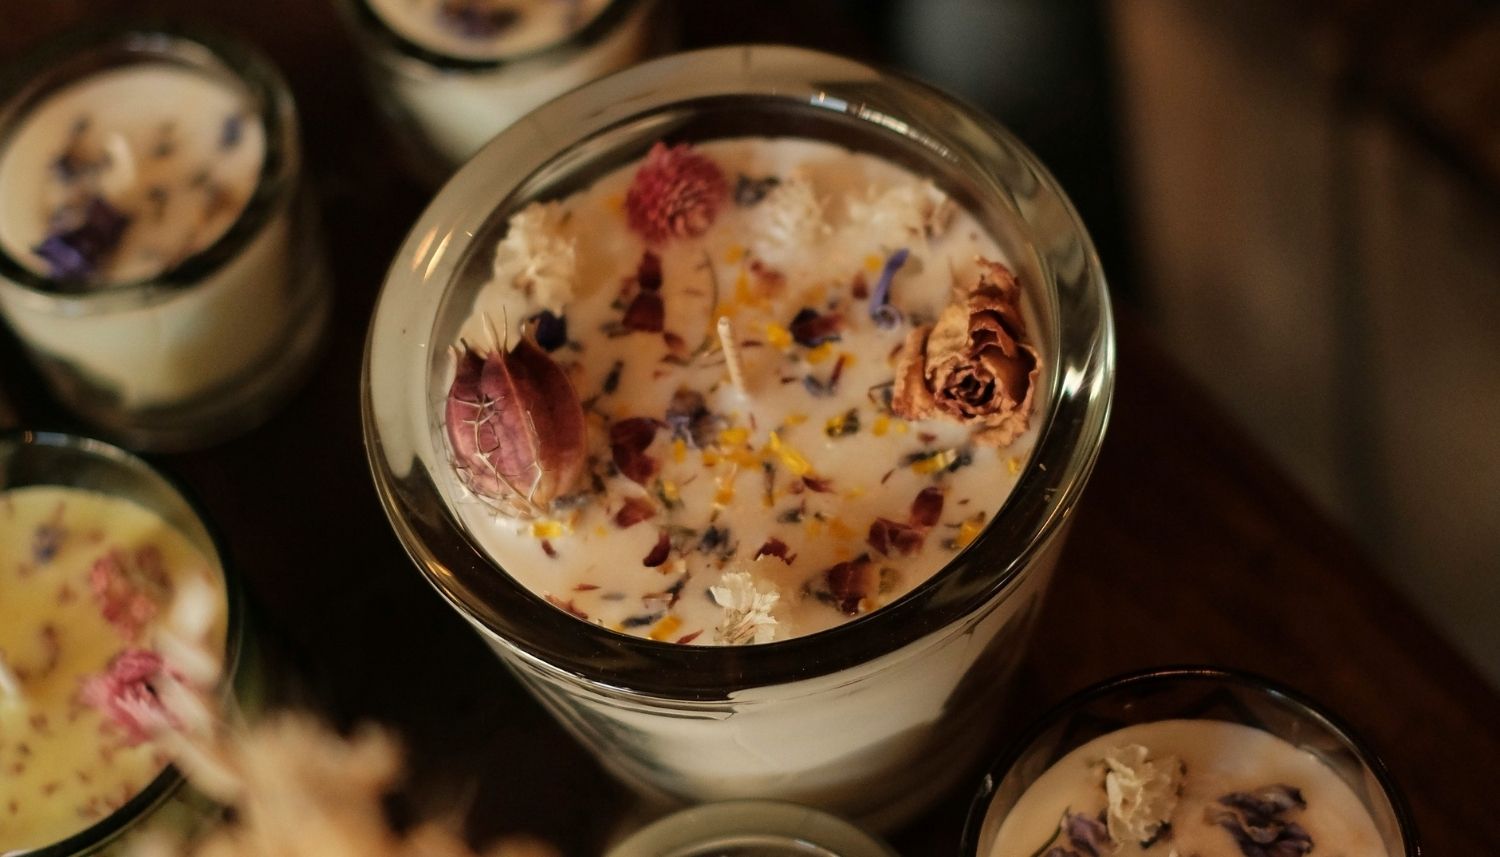
In a jar candle, votive candle, candle tin, or any other contained candles, you want the liquid wax pool to reach the container walls. This is the point where a scented candle starts to release the most amount of scent. However, you don’t want to extinguish your candle right when the liquid touches the edge of the container. Your jar candle performs its best and gives the most even burn when the liquid wax pool is allowed to reach deeper into the wax. Not only does this allow all of the wax to melt around the edge and prevent tunneling, it also warms more wax which releases more fragrance into the air. To achieve this, simply allow the candle to burn 30 minutes - 1 hour after the melt pool has reached the edge of the container. Once all of this has happened your candle has reached peak performance and you can extinguish it or allow it to burn longer. If you let it burn, make sure your wicks don’t get too long or form a carbon deposit.
With a pillar candle, your wax pool should melt across the top until there is about ⅛ of an inch of unmelted wax on the edge. This gives you the widest melt pool without compromising the structural integrity of your candle. Leaving this small amount of wax will not make your pillar candle tunnel. Once you extinguish your candle leaving this small wall, you have the option of doing nothing and just letting it cool, or you can gently press the top of the candle inward slightly. This is done by cupping your hands around the still flexible wax and slowly pushing it in. While it is not strictly necessary, many people like to do this so that the outer wax leans in toward the flame where it can be heated a little easier.
Other candle types such as tapers or tealights do not have a specific time frame that they should be lit. Their characteristics allow them to burn until completion without a definite need to extinguish them. However, as we mentioned above, they should not be lit if they are unattended. Tall taper candles burn longer than short ones, so the likelihood of needing to extinguish a taper candle before it is completed increases with the height of the taper.
If you burn your candle with these processes in mind, your candle will have a long life without wasting wax.
What is the First Burn Rule?
These steps in a candle’s burning pattern are what apply to the “first burn rule” that many people recommend following. This “rule” essentially says to make sure your candle completes the stages mentioned above the first time that you light the wick. Extinguishing a candle before the melt pool has a wide enough diameter can leave too much unmelted wax around the edge and can cause your candle to tunnel. The reason the first burn is such a crucial part of your candle’s life is because it sets you up for success for the whole candle.
A Candle’s Time Limit
The amount of time that a candle should be lit varies by the type of candle and if it will be left unattended. If you burn your candle for an extended period of time, you simply may need to adjust a few things before relighting it. While your candle does not have a set time that you need to adhere to, there are stages that it needs to go through before you extinguish the flame. These processes allow your candle to give you the best results and maximize its performance. Light up your space with amazing fragrance and beautiful candlelight ambiance with confidence.

Share on Facebook

Share on X

Share on Pinterest

Share on LinkedIn
Related Products
Comment(s)
Recent Posts
-
How Long Should I Burn a Candle?
March 3, 2026
-
3 Tips for Buying a Scented Candle Online
 February 17, 2026
 -
What to Know Before Lighting That Gorgeous Dried-Flower Candle
 January 27, 2026
 -
Why You Shouldn't Use Hurricane Cylinders for Your Candles
 January 6, 2026
 -
Does the Size of the Candle Impact Scent Throw?
 November 11, 2025